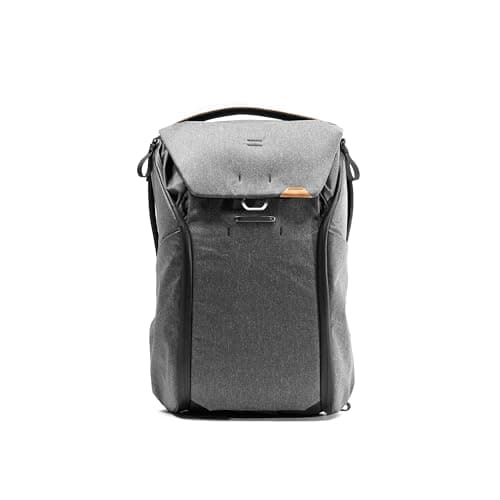
For most people the Peak Design Everyday Backpack is the bag to buy: reconfigurable dividers, weatherproof build and dual side access make it a camera bag and a life bag at once. If you want a full kit carried well for a fraction of the price, the K&F Concept 25L is the value champion. Beyond those two, the right bag depends on how much you carry and how you want to reach it.
A camera bag does two jobs: it protects gear that costs more than the bag, and it makes you willing to take that gear out of the house. Get either wrong and you either scratch your kit or leave it at home. The mistake most beginners make is buying on looks or capacity alone, then discovering the bag is awkward to open, has no laptop room, or advertises "camera gear" to every passer-by. This guide sorts real backpacks by the three things that actually matter day to day: how they protect your kit, how you access it, and how they carry.
How to choose a camera bag
1. Access — how do you get the camera out?
This is the decision that shapes your whole day, and there are three common styles:
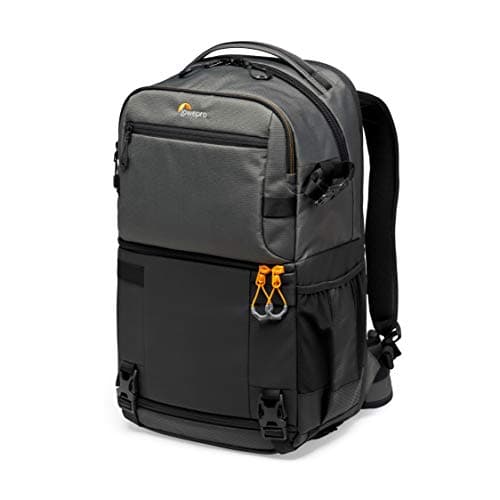
- Side access:a hatch on the side lets you swing the bag around one shoulder and grab the camera without taking it off or setting it down. Fast for street, travel and events — the Peak Design and the Lowepro Fastpack's QuickDoor work this way.
- Rear (body-side) access: the main panel opens against your back, so the zippers face you. It is slower — you take the bag off and lay it down — but it is the most secure against pickpockets and the most weather-resistant, because the openings never face out. The Lowepro Flipside is built around this.
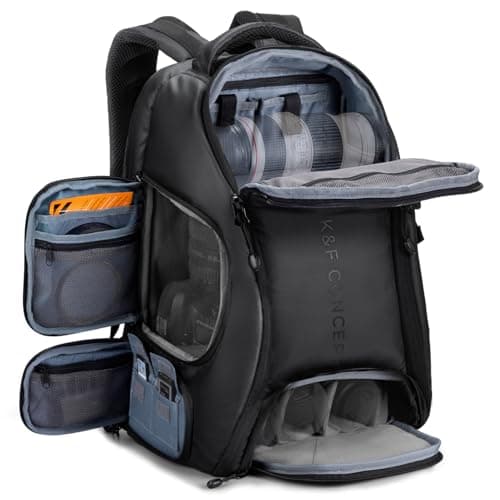
- Top/clamshell access:simplest and cheapest, opening like a normal backpack. The compact Tahoe and the K&F Concept use straightforward openings that keep them light and affordable.
2. Protection — padding, dividers and weather
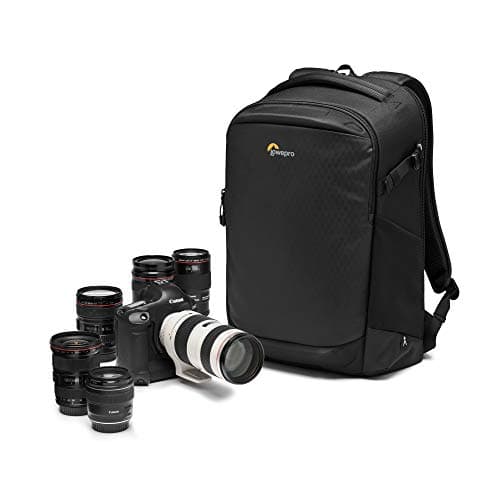
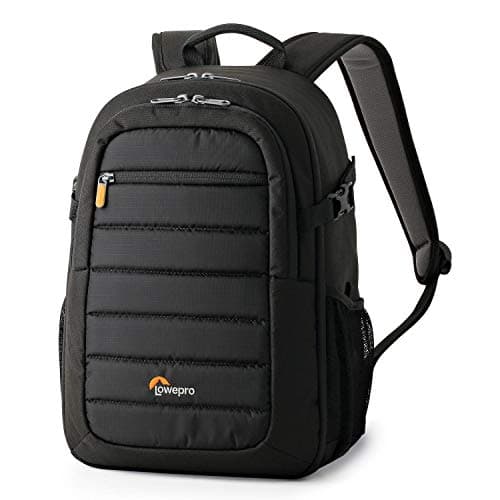
Real camera bags use padded, movable dividers (usually hook-and-loop) that you arrange around your specific body and lenses so nothing shifts or knocks together. The better the padding and the more the dividers lock in place, the safer your kit. Look, too, for weather protection: an included rain cover (Lowepro Flipside, K&F Concept) or a weatherproof shell (Peak Design) is the difference between a caught shower being a shrug or a disaster. If you only ever carry a body and one lens, a lightly padded compact like the Tahoe is enough; a multi-lens kit wants the deeper armor of the Flipside.
3. Capacity and the laptop question
Buy for the kit you carry most days, not your entire collection. An oversized bag rides half-empty and heavy; an undersized one leaves a lens at home. Count your body, the lenses you actually take, and the extras — a mic, a card wallet, spare batteries — then add a little headroom. If you also carry a laptop or tablet for work or travel, a dedicated padded sleeve (the Peak Design and Lowepro Fastpack have real ones) matters more than raw liters.
4. Comfort and carry
A loaded camera bag is heavier than it looks, so the harness matters. Padded, contoured straps, a breathable back panel and — on bigger loads — a hip belt turn a long day from punishing to easy. Premium packs like the Peak Design invest here; budget bags are usable but firmer. And a quieter point worth making: a bag that doesn't scream "expensive cameras inside" is safer on public transport and in cities than an obvious photo pack.
Match the bag to how you shoot
- Everyday carry, camera + laptop + life: Peak Design Everyday Backpack.
- Maximum protection and security, big kit: Lowepro Flipside BP 400 AW III.
- Camera-and-laptop day bag on a budget: Lowepro Fastpack PRO BP 250 AW III.
- Light, compact, grab-and-go: Lowepro Tahoe BP 150.
- Most kit for the least money: K&F Concept 25L.
Once the bag is sorted, fill it with the right camera, lens and tripod, and see the beginner camera kit guide for the whole picture.
A closer look at the winner
If the Peak Design is the one you are weighing, the published specification is worth reading in full — the 22-30L expansion range, the 16-inch laptop sleeve, the three FlexFold dividers and the 400D shell are all in our Peak Design Everyday Backpack 30L review, along with the two cases where we would buy something cheaper instead.